Friday 30 January 2015

Afternoon all,

Here is my latest item: 


This is a Fleece Flower Throw Cushion and it's so soft and cuddly! I made this as a little something different to what I have been working on recently and I really like it. I loved the super soft white fleece as soon as I touched it and I knew I had to make it into a cushion, so I made up the flowers using felt to keep the softness, and freehand sewing machined them on. I was going to add a bead to the centre of the flowers but decided not to, so that the whole cushion is soft enough to lean on, to add to a child's bed or throw on the floor for your kid's (or your) comfort whilst watching TV!


The back is cute too, I made it envelope style and the back has little scollop edges.


What do you think? It will be in my Etsy shop soon.

Thanks for reading, leave a comment if you wish or head on over to Facebook to Like me :)

Julie.
(C) FMN Crafts 2015

Monday 26 January 2015

Good evening to anybody who pops over to read my blog!

I have been working on this over the last two days:


Can you guess where this is? It's Sheepwash Bridge, Ashford-In-The-Water, nr. Bakewell, Derbyshire in the glorious Peak District!

I know it's quite a small picture (you can click on it to make it bigger) and the photo's never do the finished product justice (plus it was photographed once behind glass), but it's really quite cute! (If I do say so myself...)

A closer shot (reflection in glass, sorry)

Detailling in the bridge and trees

The area where the sheep were sheared after washing

The opening where the sheep were lowered into the water

It was designed and made over two days, each piece has been interfaced, heat stuck on and then sewn using a Freehand Machine Embroidery technique, particularly useful for the 'drawn' look and the attention to detail. This one is framed with the same appateur as the Bakewell Pudding Shop, only it is a larger mount and a larger frame.

The history behind this bridge is that back in the day, farmers bought sheep to the nearest side of the bridge to us in the design, lined them up, plopped them into the water through the opening in the wall allowing them to swim to the other side of the river, hense washing them, where they were helped out and finally sheared. (If I remember right that is...) As far as I know this practice doesn't occur any more but visitors come in their droves each year to see the sight and the beautiful village of Ashford-In-The-Water.

This is how it began!


What do you think? Leave me a comment if you like...if you have come from Facebook leave me a message here or there please :)

Thanks for reading, pass it on if you wish.
Julie.

(C) FMN Crafts 2015

Wednesday 21 January 2015

Good afternoon all,

I'd like to show you my latest design...:


Anybody recognise where this is? It's the famous Bakewell Pudding Shop in Bakewell, Derbyshire! One of my all time favourite places... (click on the pics to make them larger)

This has been designed and made using my favourite technique at the moment, Freehand Machine Embroidery.

Lower front window and open door detail

An upper window where the cafe is

Lower left window where the puddings are!

You can see the details a little more in these pictures, I just love the freehand style making it that lines are 'wonky' and almost naive looking. 

This one took me about 2 1/2 days to complete before framing and I simply love it. I am exhibiting in Bakewell soon and I will be taking it to the fair, unless any one shows and interest before hand of course...


What do you think?

Leave me a comment, share this or even Like me on Facebook, I'd love to hear your feedback.

Thanks for reading,
Julie.

(C) FMN Crafts 2015

Wednesday 14 January 2015

Mobile 'Phone Case

Afternoon all,

Here is the third in the line of Freehand Machine Embroidery Mobile 'Phone cases I have made:


I really like the style of this rose and the colours are lovely (photo's never really do them justice).

It is made using hard wearing yet soft linen, hard wearing denim, cotton, and it is interfaced, padded and lined in cream cotton and has an elastic and button closing.


This fits my phone which is a Sony Xperia Z1 and that measures 5" tall x 2.5" wide and although it is snug there is room for a little 'play' to fit similar sized phones. Of course, I can make them to measure... Find this item in my Etsy shop really soon.

Next time I blog I hope it's going to be about my latest picture frame project I am currently working on, of the Bakewell Pudding Shop! More later...


That's all for now, thanks for reading, leave a comment if you like.

Julie.
(C) FMN Crafts 2015

Sunday 11 January 2015

Story Time...

Good evening all, for this blog I thought I would tell you a story. A story about how the Headstone Viaduct at Monsal Head, Derbyshire was made... Are you sitting comfortably? Then I shall begin...

Firstly, (ok, not firstly but you'll see what I mean...) the Viaduct was built (!) This has to be one of the most photographed spots in all of the Peak District and it is absoultely one of me and my husband's favourite places, and so I set myself the challenge of sewing it..!

Photograph on my screen

So I began by working out how to tranfer a photograph into a piece of sewn art. I made a dawing based on the photo's key points, with the viaduct obviously being my biggest point and in the middle and then drew over each section with a Sharpie. I gave them all numbers and then traced each section, with overflows around some of their edges onto tracing paper, which I numbered to match. I then transferred them onto plain paper which I also numbered and cut them all out. As you can imagine, this took a while!


Next I had to plan how I was going to lay the pieces out, not only for the 3D effect or at least perspective of distance & realism, but also because once you sew one piece on, it's on! You can't lift it back off like you can paper...! Once I was satisfied I wrote 'in order' list so I wouldn't forget. Oh yes, I also chose a piece of denim for the background too which would turn out to be the sky.


Then came the choices of materials. Oh boy, this took ages too. I wanted really mixed media including chains, felt, maybe cotton wool and alsorts but they just didn't work. So I ended up with mostly cotton but there was some linen, poly-cotton and bias binding thrown in. Beads came later... I had to remember, when using the paper pieces as guides, to turn them over as well as drawing around them onto the back of the materials. (I didn't always remember and had to re-do two pieces!) #human Getting tired...


Time for a break; time for a Kit-Kat! (And a coffee.)


Back to work. I next had to interface each individual (flippin') piece as not only does it make it sturdy and durable, but it's so much easy to sew through, particularly when using the technique you'll see in a moment. 


And then I had to lay them all down again, in the order I stated on the list, trying to keep to the same areas as before, making sure some sky would show and that it would fit in a conventional size frame...who's idea was this anyway??


You get to see the picture coming through a bit now though don't you? Next was the most patience-testing to date as I had to adhere each piece to either the one behind it or to the background piece, using Bonda-web (which is great) but it meant lifting each piece a little to slide the Bonda-web underneath and press, without moving the other pieces. Grr. But it's a good 'grr' as I'm almost ready to sew! Here it is looking all neat and ready.


And so I sew! This picture shows the first stitch about to begin. I am using my Christmas present from my wonderful husband, a Janome Sewist sewing machine that I love, and I am using a Freehand Machine Embroidery technique with a machine embroidery foot and the feed dogs dropped. I'm not using an embroidery ring as personally I find them too clumsy on a larger project. I sewed and sewed and sewed some more...


...until I thought it was mostly done. But there was something bugging me and I worked out that the large section of trees and bushes on the right hand side of the viaduct just wasn't right (look at it, two pictures above), so I had a battle with unpicking and peeling off Bonda-web. (Did I say that stuff is good? Well, yes, that and interfacing mixed makes for sturdy stuff, that funnily enough, does not like being removed!) So here you see an altered state with many smaller and more defined trees and bushes, all individually shaped, interfaced and (bloody) Bonda-webbed down, plus a slight change in the two right hand fields too..! Then it was sewn again... :)


Like sew so.

This picture shows it nearly finished and I think it's a great picture because it's really like looking at the photo now! Only in some arty psychadelic way that I just love... Can you see the foot paths in various places? And the ripples on the river? The viaduct is not quite right though...hmm.


We'll have a look in a moment but first let me show you a few details in the trees...


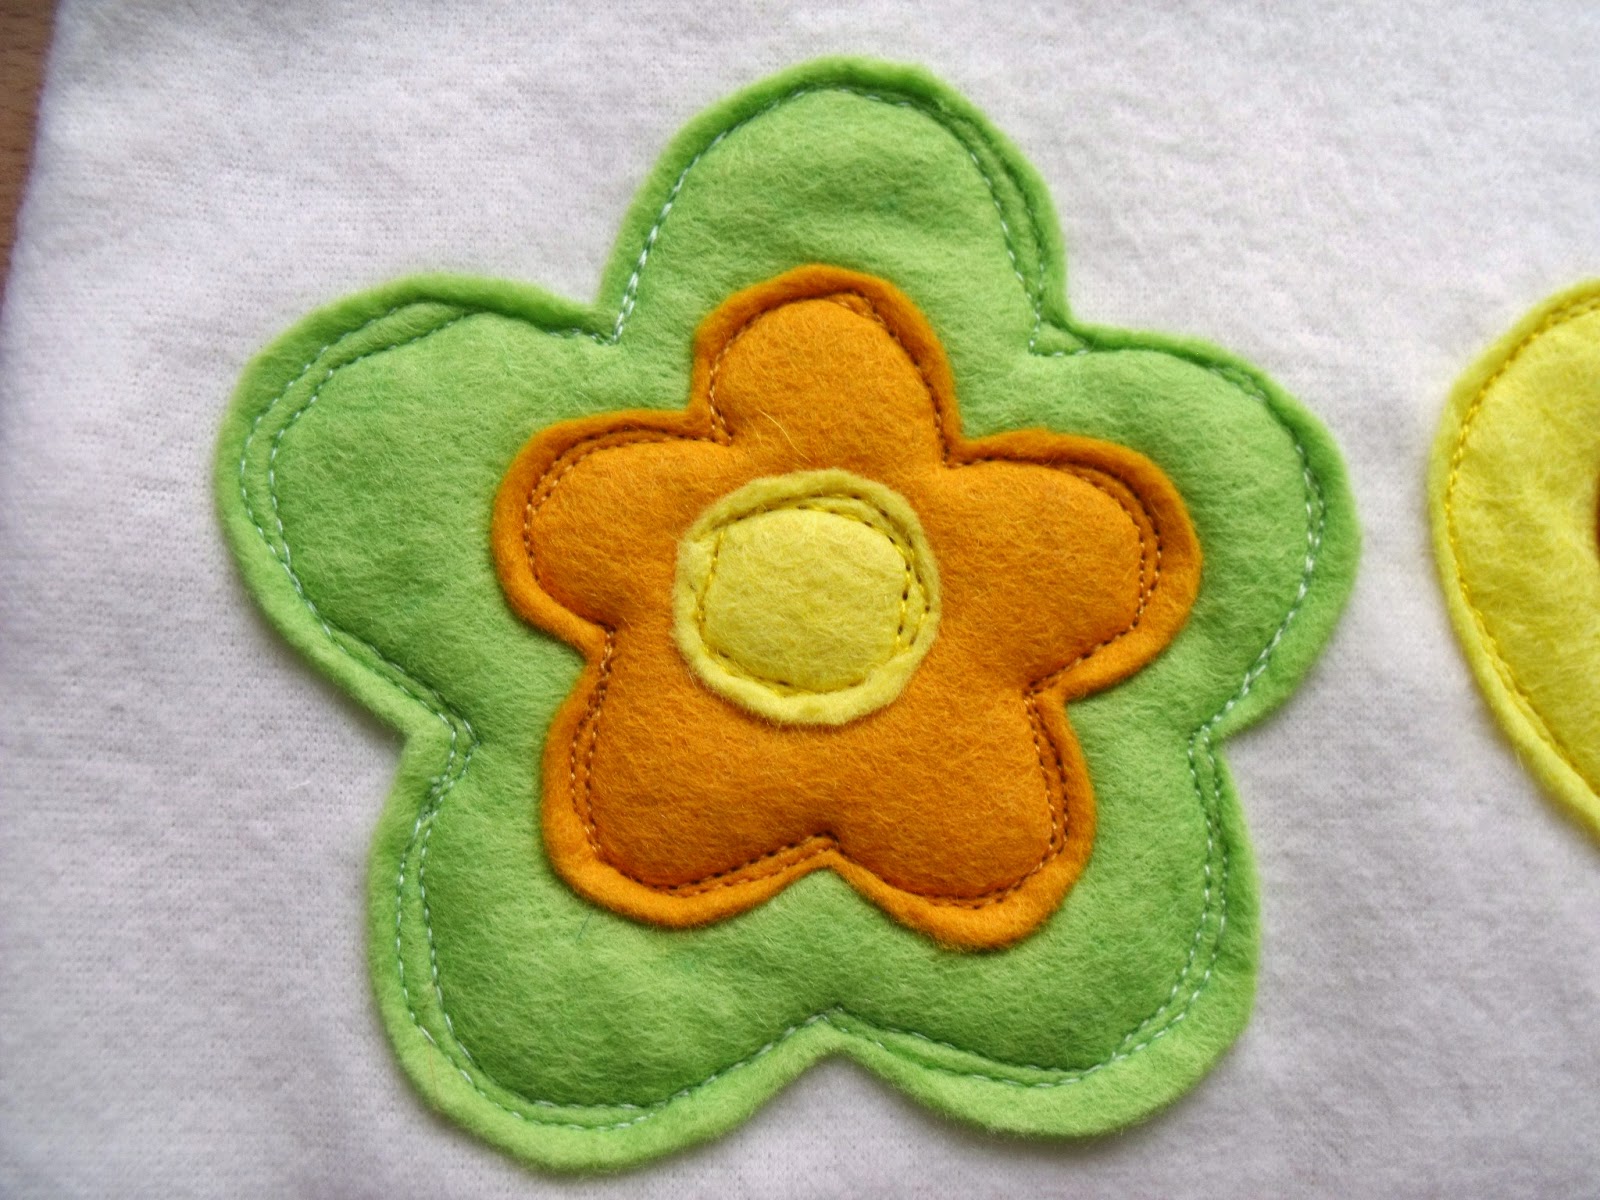
And the foreground flowers with beads, each individually sewn on...


These too...


And then onto the viaduct. I decided it was missing the railings that run along each edge of the viaduct and so I added some embroidery threads and made details with single thread by hand. Guess what? This took a while! (Thick fabric - sore fingers).

(See the needle?)

 And now we are so close to it being completed!


But the viaduct still needed something, afterall, it is the focal point... Shadow! I took it back to the machine and added in the shading, still using the same technique as the rest.


It is complete! WOW!! And as you know, all artists do/should sign their work and so you can see my initials at the base... J.S.


This is it still in it's raw state but completed:


 And this is an 'artist's impression' of what it will look like once it is framed. (Not exact colours).


So this is the story of how the Headstone Viaduct was built, in a way you will never have heard before. I hope you liked it. Oh, and by the way, from start to finish, it took 4 whole days. :) Thank you so much for reading, please share, Like me on Facebook if you wish, follow me on Twitter or leave a comment below -  I'd love to know what you think!

The End.

(It will be framed and then taken to a craft fair, I think, that's if I don't keep it myself!)

Goodnight, Julie.

EDIT: It is now framed! I had to add a couple of extras to finalise/enhance the spectacular piece but here it is complete in it's deep frame:


(C) FMN Crafts 2015

Monday 5 January 2015

Freehand Machine Embroidery Heart Keyring

Afternoon all,

Did you start back to work today? Booooo. Well, for me, I did and it was great! Well, actually, let me get this right - I don't think I actually stopped working and so therefore, I didn't start back today! Yee! Confused? Yes, me too. When one is self-employed, daily hours, break-up and start-back days are blurry because the hours just melt into one. I hardly ever stop!

Anyway, these are what I have just finished:


Freehand Machine Embroidery Heart Keyrings.


These are great fun to make and I have two styles here. They were actually quite fiddly to make, but fun! Do you like them...?


See them in my Etsy store soon. Thanks for reading, pass this on if you like or Like me on Facebook or even leave a comment.

Julie.
(C) FMN Crafts 2015

Friday 2 January 2015

Networking in 2015

Hi all,

Just wanted to put this out there, I would love to follow your blog or Like you on Facebook, so please post your links to me, pass me on, Google+ yourself to me, follow me on Twitter (@FMNCrafts) or say hi on my Facebook page and I'll follow you back...I'd like to increase my networking for 2015 (comments are also very welcome!

Thanks,

Julie.